A riverway plumbing and mechanical logo with a blue , red and white wave
(812) 327-8080

Servicing You 24/7

Winterizing Your Home: Essential Tips for Safe Plumbing

As the leaves turn and the air grows crisp, it's a clear sign that winter is on its way. Preparing your home for the colder months is not just about keeping it warm and cozy; it's crucial for preventing costly damages and ensuring your family's safety. Here are essential tips for winterizing your home, ensuring you stay snug and secure throughout the frosty season.


1. Insulate Exposed Pipes

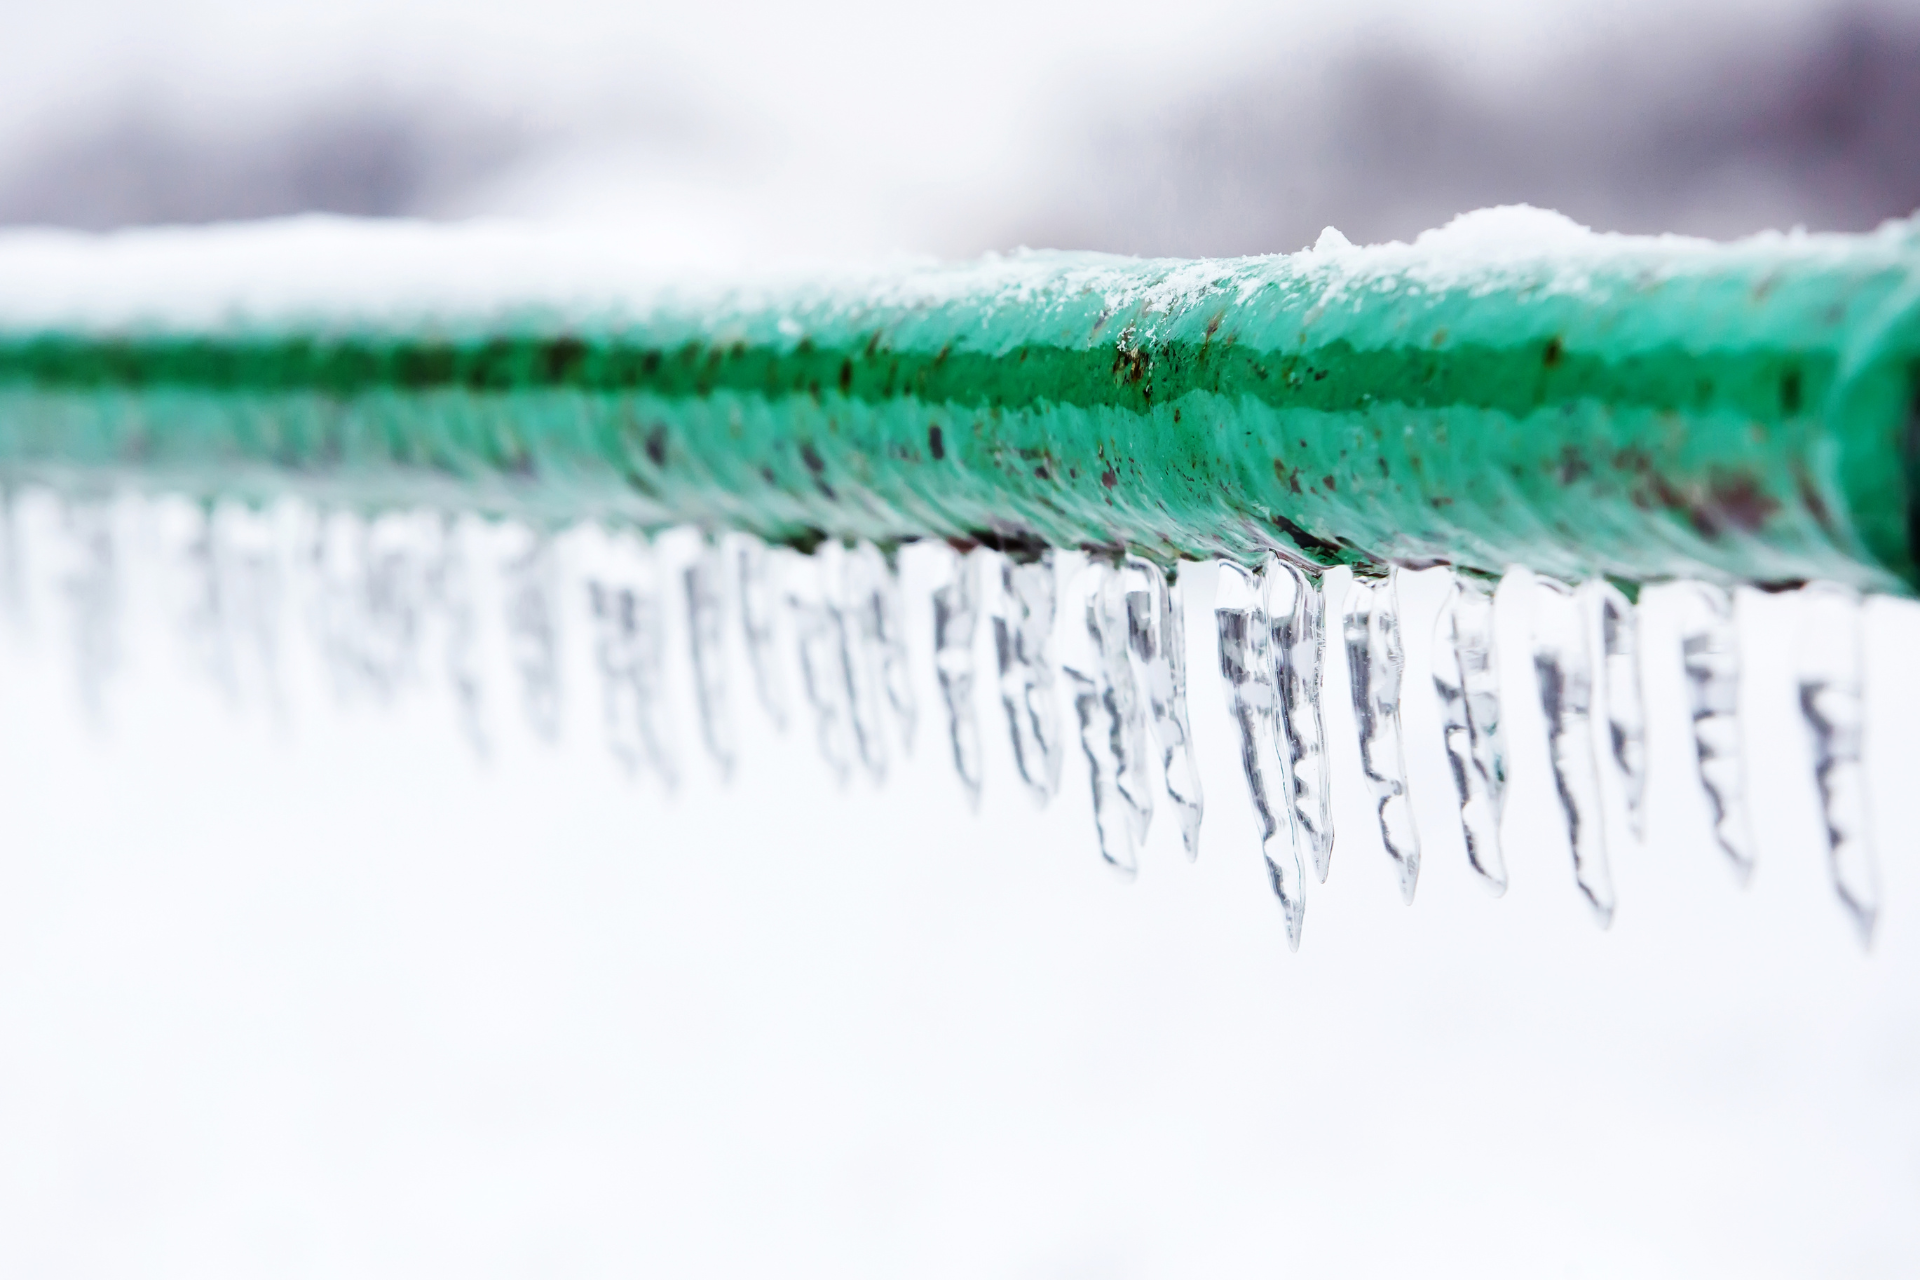
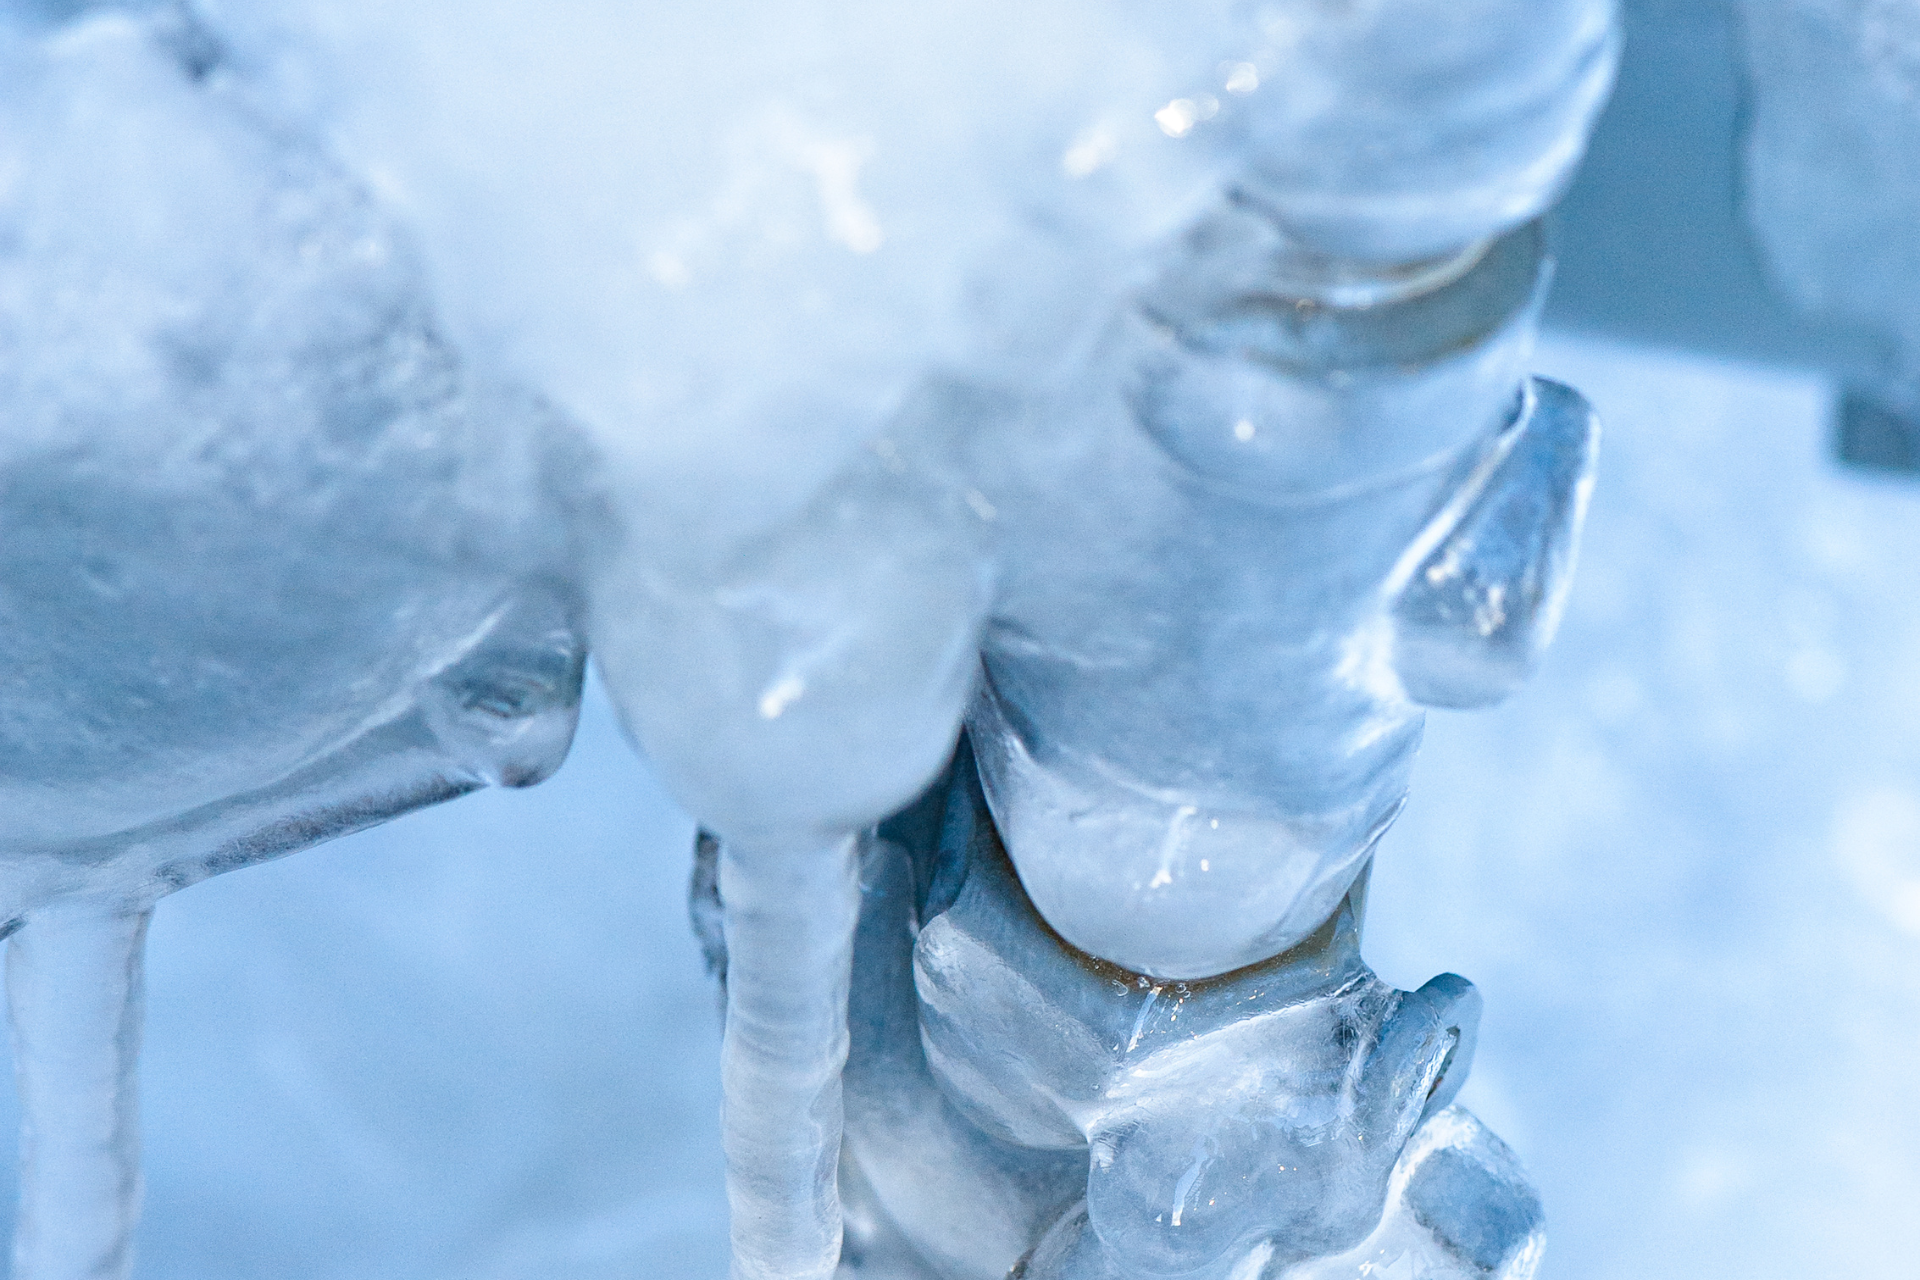
The plummeting temperatures of winter pose a significant risk to exposed pipes, which can freeze and burst, leading to expensive repairs. Insulating these pipes is a proactive step towards safeguarding your home against water damage. Use foam pipe insulation to cover any pipes in areas like the attic, basement, and outside walls. This simple measure can save you from the hassle and expense of burst pipes.


2. Let Faucets Drip on Freezing Nights

When the mercury drops below freezing, even a slight trickle of water through your faucets can prevent ice from forming in your pipes. This small flow keeps water moving, making it much less likely to freeze and cause a pipe to burst. It's a simple trick that can save you a lot of trouble.


3. Drain and Store Outdoor Hoses

Outdoor hoses are vulnerable to freezing temperatures, which can damage the hose itself and potentially lead to problems with your home's plumbing. Before the first freeze, drain your hoses, disconnect them, and store them indoors. This not only extends the life of your hoses but also protects your indoor plumbing from freezing and bursting.


4. Seal Gaps and Cracks

Cold air can find its way into your home through gaps and cracks in the exterior, leading to increased heating costs and a chilly living environment. Before winter sets in, inspect your home's exterior and use caulk or weather stripping to seal these breaches. This effort not only keeps your home warmer but also protects your pipes from the cold.


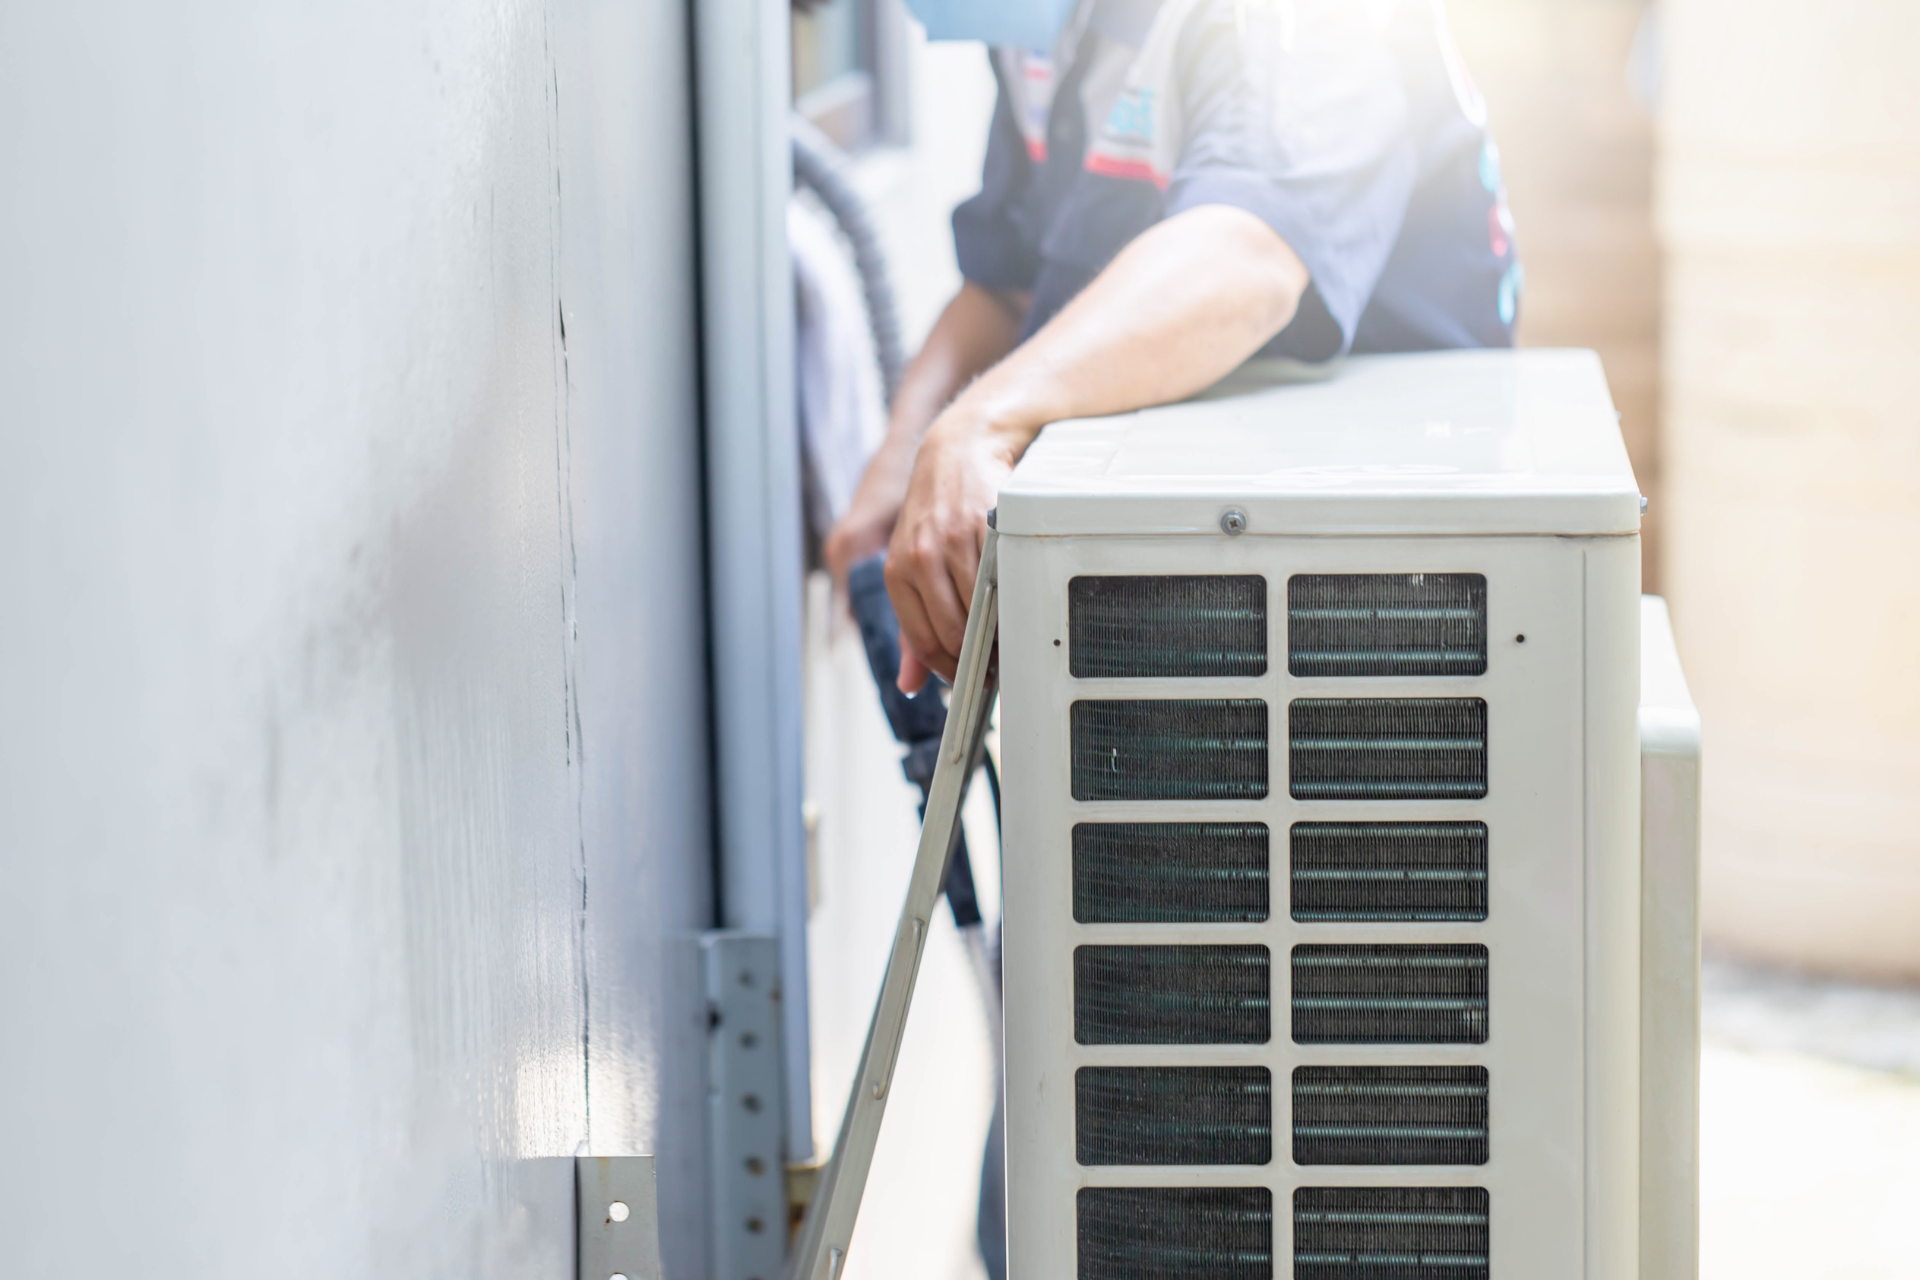
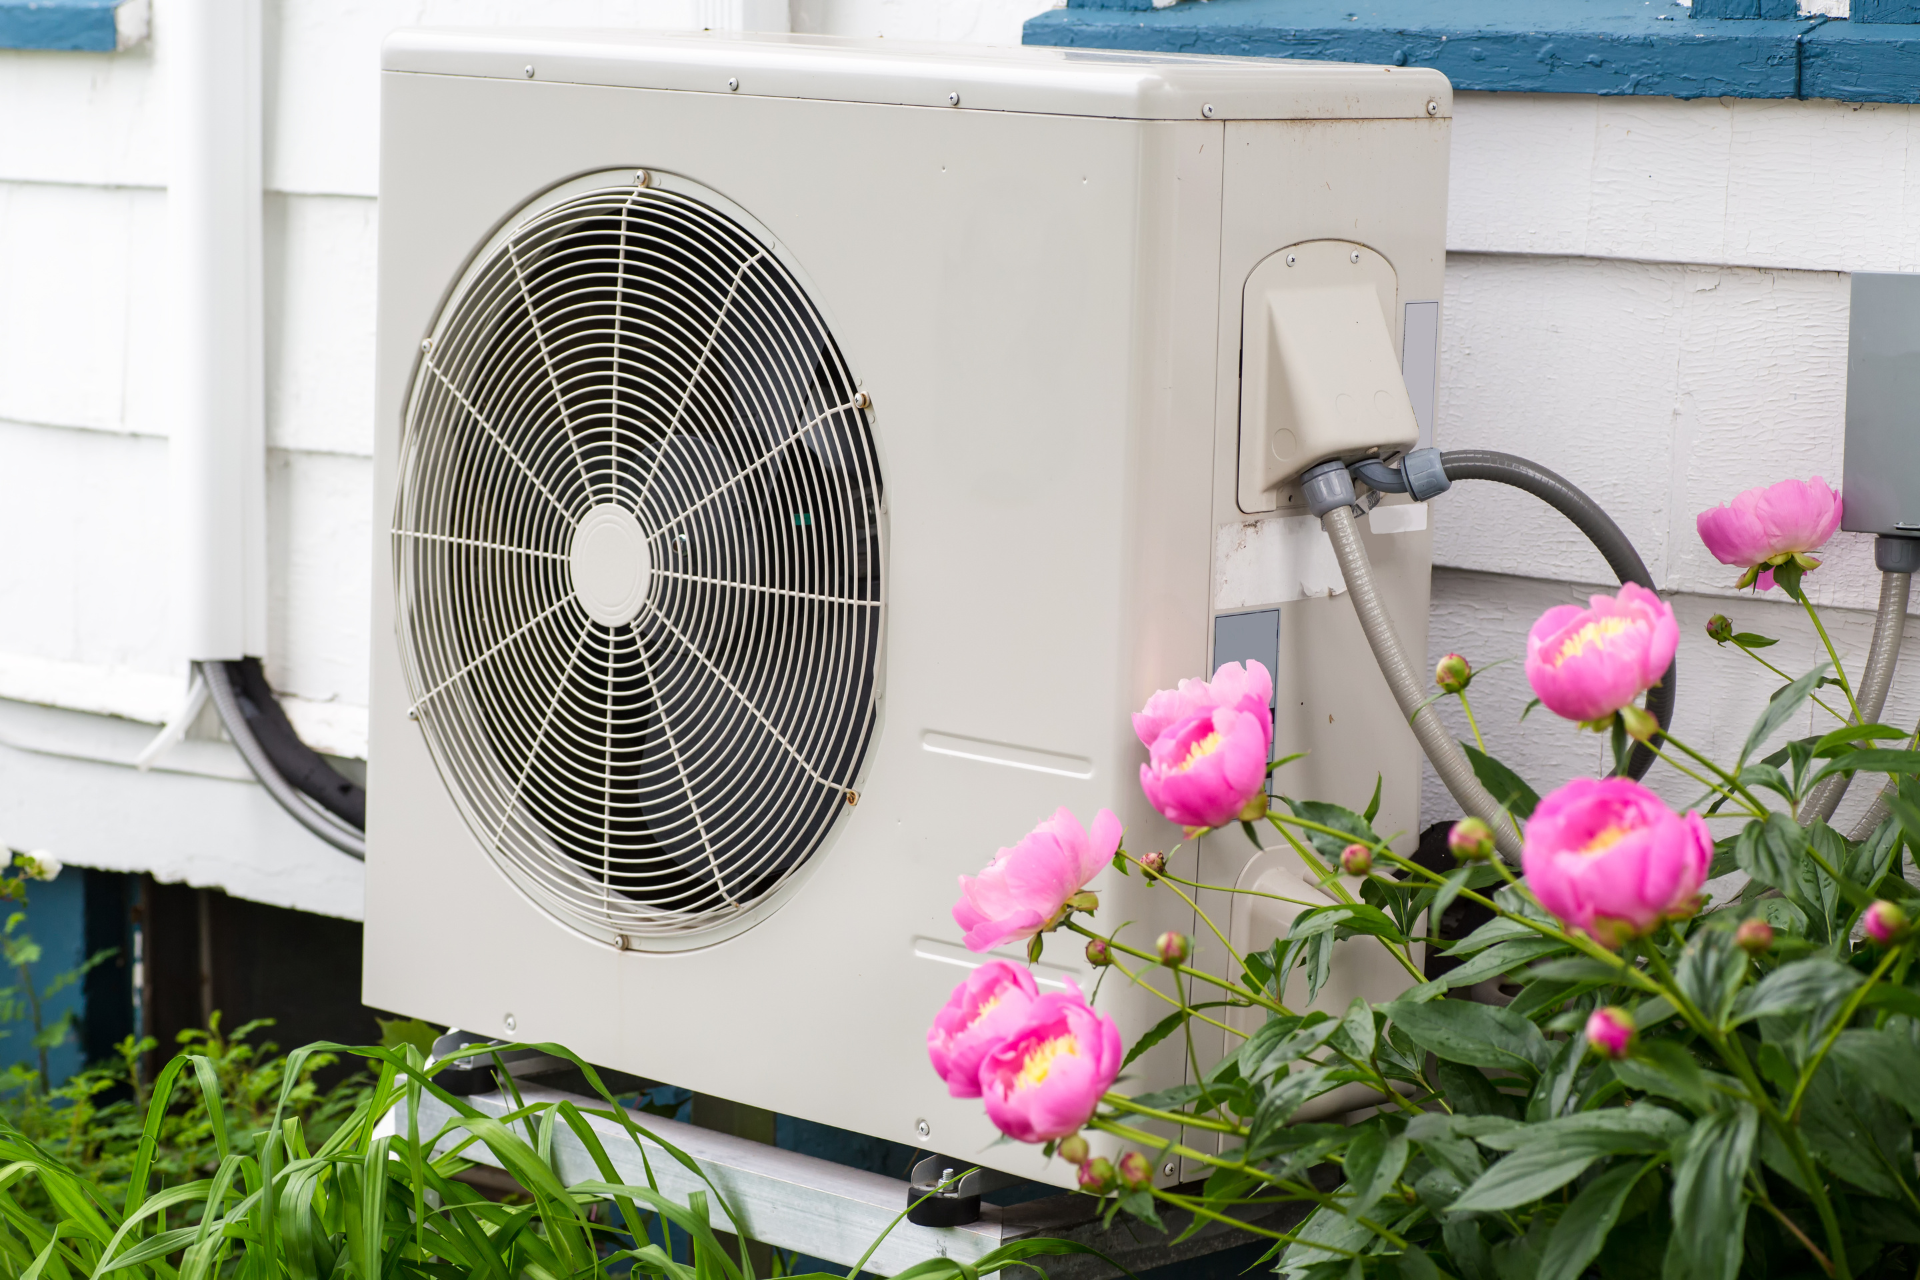
5. Check Your Heating System

A well-functioning heating system is essential for a comfortable and safe home during winter. Have your heating system inspected and serviced by a professional to ensure it's in optimal working condition. This checkup can prevent unexpected failures, ensuring your home stays warm and that the pipes, especially those in walls and ceilings, don't freeze.


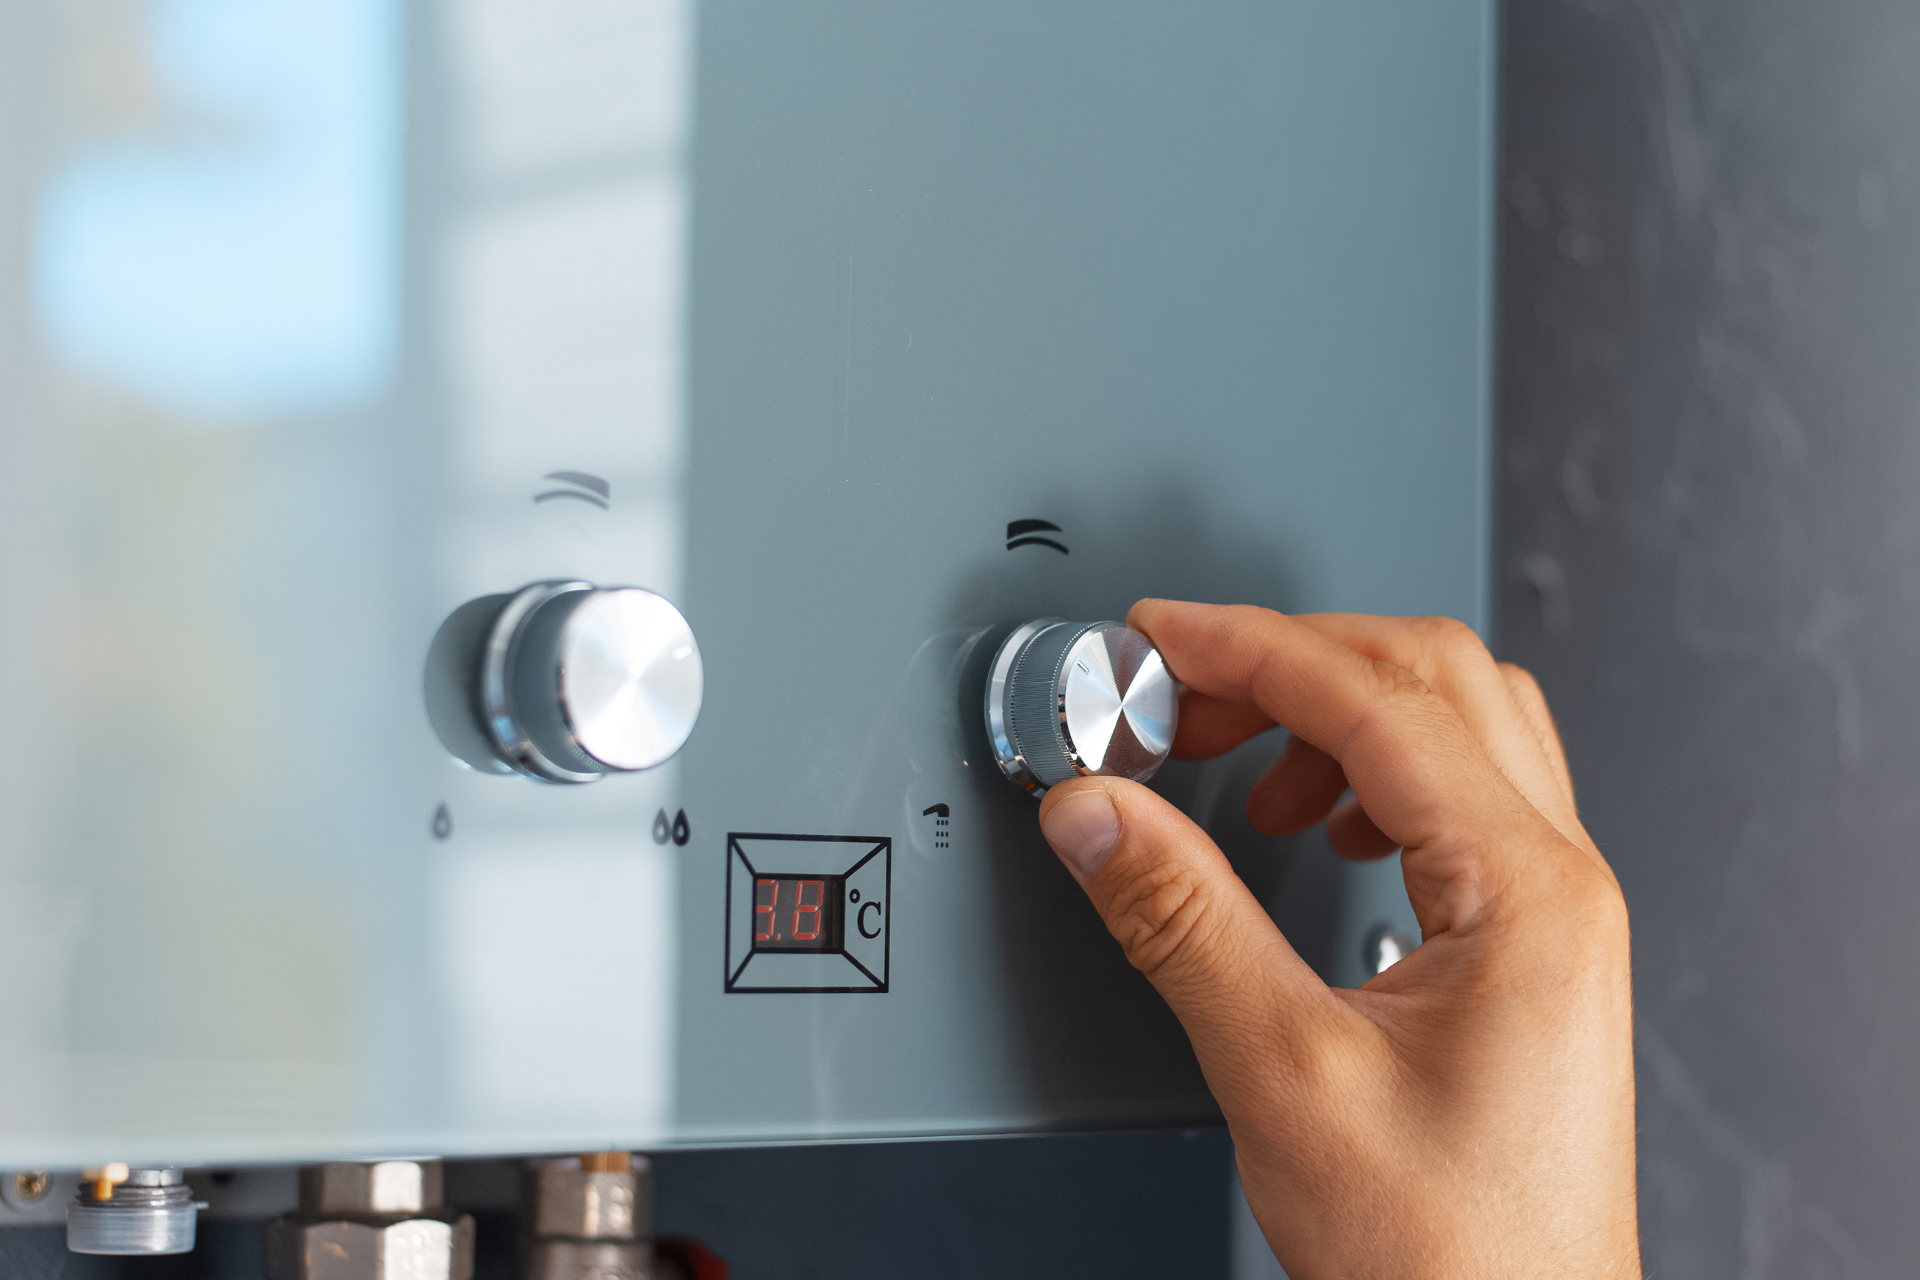
6. Service Your Water Heater

Your water heater works harder during winter, supplying the warm showers that are especially appreciated on cold days. Servicing your water heater before the season begins can ensure it operates efficiently and reliably all winter long, providing you with hot water when you need it most.


7. Know Your Main Water Shut-Off Valve's Location

In the unfortunate event of a pipe bursting, quickly shutting off your home's main water supply can mitigate damage. Make sure every family member knows where the main shut-off valve is located and how to turn it off. This knowledge is crucial in preventing extensive water damage in emergencies.


By following these steps, you can significantly reduce the risk of winter-related damages to your home, ensuring it remains a warm, safe haven for your family. Winterizing your home is a proactive approach to comfort, safety, and peace of mind, allowing you to enjoy the beauty of the season without worry.


February 3, 2025
We love our pets. They are our constant companions, our best friends, and even our running buddies. However, with pets comes the shedding and dander. Pets are an addition to the mindful equation of how to keep your HVAC systems at home working efficiently. Many people don’t realize how much a pet can affect their HVAC system. It’s important to take care of your pet, like grooming and bathing, in addition to keeping your HVAC system running properly. Here are some essential maintenance tips to help ensure the success of your HVAC system. Check and Change Filters Pet dander consists of tiny particles of dead skin that become airborne in your home. This floating dander gets caught in your filters, eventually blocking the air conditioner’s airflow and causing it to stop working efficiently. Even though the air conditioner continues to run, you won’t get the cooling results you expect, leading to higher energy bills. Regularly changing your air filters, or purchasing higher-quality filters, can help prevent this issue. Groom Your Pets Regular grooming can reduce the amount of hair and dander that ends up in your HVAC system. Pets tend to shed more in warmer weather, so it’s important to bathe and groom them routinely. Keeping your pets clean and well-groomed will reduce the amount of dirt, grease, and allergens in your home, thus extending the lifespan of your HVAC system and keeping your pets healthier and happier. Clean, Clean, Clean Pet dander is a major allergen and can significantly impact your home’s air quality. Always use natural or fragrance-free cleaning products to improve air quality. Pet hair and dander can clog air vents, so when vacuuming the floors, use the hose attachment to clean around your air vents. This will help remove hair and dust that may accumulate. Additionally, consider getting a professional AC duct cleaning service to ensure all areas are thoroughly cleaned, preventing viruses and bacteria from spreading. HVAC Filter Upgrades Just like there are different breeds of pets, there are various types of HVAC filters. Homes with pets benefit from HVAC filters with higher MERV ratings. While most residential filters have a MERV rating of around 2, a home with pets should have filters with a MERV rating of 8 or higher for optimal performance. If you need help selecting the right filter for your HVAC system, reach out to us at Riverway Plumbing & Mechanical! Check for Exposed Wires Pets love to chew on things, including exposed HVAC wires. To prevent your pets from turning these wires into chew toys, enclose them in conduits. For outdoor units, consider building a fence barrier to keep your pet from playing too close. Ensure there is a minimum 3-foot clearance around the unit to keep it functioning properly and protect your pet. Invest in a Programmable Thermostat A programmable thermostat can be a great investment for pet owners. It allows you to adjust the temperature settings in your home while you’re away, ensuring your pets stay comfortable without wasting energy. With a programmable thermostat, you can lower, raise, or turn off the temperature settings remotely, saving money and maintaining a comfortable environment for your pets. By following these guidelines, you can help ensure your HVAC system runs efficiently and your pets stay comfortable. With summer just around the corner, maintaining your air conditioner is crucial. Regular cleaning and maintenance will allow for a cool summer and a comfortable indoor environment.  Contact Riverway Plumbing & Mechanical today for more information and assistance with your HVAC maintenance needs!
January 7, 2025
As temperatures drop, the risk of frozen pipes increases, which can lead to significant damage and costly repairs. At Riverway Plumbing & Mechanical, we understand the importance of maintaining your plumbing system, especially during the colder months. This guide will help you identify and thaw frozen pipes to prevent lasting damage and restore the flow of water throughout your home. How to Identify Frozen Pipes Frozen pipes can cause a range of problems, from reduced water pressure to complete water stoppage. Here are some signs that might indicate a frozen pipe: Reduction in Water Pressure : Noticeably lower water pressure can be a sign of a frozen pipe. Leaks : If you see water leaking from your pipes, it could be due to ice expansion causing cracks. No Water from Faucets : If no water comes out when you turn on a faucet, a pipe might be frozen solid. To identify the specific pipe that’s frozen, turn on the faucets to see if the issue affects the entire home or just a specific area. If it's the main water line, water pressure will be reduced or stopped throughout the house. If only certain fixtures are affected, trace the pipe back from the faucet to find the frozen section. Look for ice or frost on the outside of the pipes, especially those that are not insulated or run along an exterior wall. How to Thaw Frozen Pipes Once you’ve located the frozen pipe, follow these steps to thaw it safely: What You Need Drywall knife Reciprocating saw Hair dryer Heat tape Space heater Towel Fan Dehumidifier Shop vac Mop Pipe insulation Step 1: Turn On Faucet Turn on the nearest affected faucet. Even a trickle of water can help prevent the pipe from freezing completely. If the pipe is already frozen, opening the faucet helps relieve pressure, reducing the risk of a burst pipe. Step 2: Expose the Pipe If the frozen pipe is behind a wall, ceiling, or floor, you’ll need to cut a hole to access it. Use a drywall knife or reciprocating saw to do this carefully. Exposing the pipe allows you to apply heat directly and see why it froze. Pipes in uninsulated or cold areas are more prone to freezing. Step 3: Apply Heat Gradually apply heat to the frozen section using one of the following methods: Hair Dryer : Direct the warm air at the pipe. Heat Tape : Wrap the tape around the pipe and plug it in. Space Heater : Position it near the pipe to warm the area. You can also turn up the home’s heat, but this method takes longer. It typically takes 30 to 60 minutes for the pipe to thaw. Keep the heat applied even after water starts flowing to ensure the ice is completely melted. Step 4: Check for Leaks After thawing the pipe, inspect it for leaks. Use a towel to dry the pipe and look for signs of damage. If there are any leaks, turn off the main water valve and contact a plumber. Step 5: Call a Plumber If you discover any pipe damage, call a plumber to repair or replace the pipe. Use towels, a mop, or a wet/dry vacuum to clean up any water and prevent mold and mildew. Fans and a dehumidifier can help dry the area. How to Prevent Pipes from Freezing Preventative measures can save you from the hassle of dealing with frozen pipes: Insulation : Install insulation in areas where pipes are exposed to cold temperatures. Pipe Insulation : Wrap pipes with insulation or heat tape to keep them warm. Maintain Heat : Keep your home at a consistent temperature during the winter. Check Regularly : If you’re away, have someone check your home periodically.  By following these steps, you can protect your plumbing system from the effects of freezing temperatures. For professional help, contact Riverway Plumbing & Mechanical to ensure your pipes are safe and functional all year round.
December 9, 2024
As winter settles in, the natural humidity level drops, making our homes feel less comfortable. Increasing humidity not only enhances comfort but also brings numerous health and cleanliness benefits. Maintaining an ideal humidity level of around 45% is crucial for a healthier and more pleasant living environment. If your home’s humidity dips below 30%, it becomes too dry, while levels above 50% might start to feel uncomfortable. Here’s a comprehensive guide on how to increase your home's humidity during winter. Benefits of Increasing Your Home’s Humidity Prevention of Common Illnesses and Symptoms : Proper humidity levels can reduce the transmission of viruses like the flu and the common cold. It also prevents sore throats, headaches, and discomfort for contact lens wearers. Better Control of Dust : Ideal humidity helps keep dust, allergens, and pollutants out of the air, making it cleaner and healthier to breathe. Hydrated Skin : Increased humidity prevents dry, irritated skin, a common issue in winter. Proper Care of Furniture : Dry air can damage wooden furniture, hardwood floors, and pianos. Maintaining proper humidity prevents warping or cracking. Reduces Electrostatic Shocks : Dry winter air often leads to static shocks. Increased humidity can help prevent these annoying jolts. 8 Tips for Increasing Humidity in Winter Add Houseplants : Houseplants not only beautify your home but also help purify the air and increase humidity. Plants like palms, philodendrons, and Chinese evergreens are excellent choices. Ensure regular watering and occasional misting for extra moisture. Boil Water and Cook Using the Stovetop : Cooking on the stovetop releases steam into the air. Use this to your advantage by boiling water and cooking more on the stove rather than the microwave. Leaving lids off pots and pans can release even more moisture. Set Out a Pan or Vase of Water : Placing open containers of water on radiators or near heating vents allows water to evaporate into the air. Decorative vases with citrus peels, vanilla, or essential oils can also add a pleasant scent to your home while increasing humidity. Hang Dry Your Laundry : Instead of using a clothes dryer, hang laundry indoors to let the moisture evaporate into your home’s air. This not only increases humidity but also saves on energy costs. Use Your Shower Steam : After taking a shower, leave the bathroom door open to let the steam circulate through your home. Avoid using the bathroom fan, which removes moisture from the air. You can also use a stand-up fan to distribute the moist air. Don’t Drain the Bathwater Right Away : Allow bathwater to cool completely before draining. As long as the water remains warm, it contributes moisture to the air. Upgrade Doors, Windows, and Weatherstripping : Inefficient doors and windows can leak out heat and moisture. Installing new, more efficient doors and windows can help. If replacements aren’t in the budget, use weatherstripping to seal cracks and retain humidity. Install a Humidifier : One of the most effective ways to control humidity is by using a humidifier. Portable units are great for small areas, but a whole-home humidifier system offers the best control. These systems ensure an exact humidity level, keeping your home comfortable and protecting wooden furniture and other delicate items. Professional Humidifier Installation  For the ultimate in humidity control, consider installing a whole-home humidifier. Riverway Plumbing & Mechanical offers expert installation services to help you maintain a perfectly humidified home. With a whole-home system, you’ll enjoy all the benefits of a properly humidified environment with ease and convenience.
November 14, 2024
Winter is a beautiful season, but it can also bring some challenges, especially when it comes to your home's plumbing. Frozen pipes are a common issue that can cause significant damage if not addressed properly. At Riverway Plumbing & Mechanical, we want to help you protect your home from the potential hazards of freezing pipes. This guide will provide you with practical tips to prevent your pipes from freezing and what to do if they do freeze. Why Preventing Frozen Pipes is Crucial Frozen water pipes can lead to severe consequences, including: Flooding due to burst pipes Damage to your furnace Structural damage to your home Potential for mold growth Even a small crack in a pipe can result in hundreds of gallons of water flooding your home. Pipes can freeze and burst when temperatures dip below 32 degrees Fahrenheit, affecting homes in both cold and warmer climates. By following the preventative measures below, you can reduce the risk of frozen pipes and the resulting property damage. Tips to Prevent Frozen Pipes 1. Insulate Your Pipes Exposed pipes are more susceptible to freezing. Insulate pipes in your home's crawl spaces and attic, even if you live in a climate where freezing is uncommon. Pipe insulation is an affordable and effective way to protect your plumbing. 2. Use Heat Tape or Heat Cables Heat tape or thermostatically-controlled heat cables can be used to wrap pipes. Choose products designed for your specific use (interior or exterior) and approved by an independent testing organization, such as Underwriters Laboratories Inc. Follow the manufacturer's installation and operation instructions carefully. 3. Seal Leaks Check for air leaks around electrical wiring, dryer vents, and pipes. Seal any leaks with caulk or insulation to help keep the cold out. Preventing cold air from entering your home is a crucial step in keeping your pipes from freezing. 4. Secure Outdoor Hoses, Valves, and Faucets Before winter sets in, disconnect garden hoses and, if possible, use an indoor valve to shut off and drain water from pipes leading to outside faucets. This can help prevent freezing in the short span of pipe just inside the house. 5. Let Water Drip Allowing a trickle of warm water to drip overnight when temperatures are cold can prevent your pipes from freezing. This is especially effective for faucets on exterior walls. 6. Adjust the Thermostat Keep your thermostat set at the same temperature day and night. During extreme cold, this can also reduce the strain on your furnace and help prevent frozen pipes. 7. Open Cabinet Doors Opening cabinet doors allows heat to reach un-insulated pipes under sinks and appliances near exterior walls. What to Do If Your Pipes Freeze If your pipes do freeze, don't panic. Here are some steps to take: 1. Call a Plumber If you turn on your faucets and nothing comes out, leave the faucets turned on and contact your plumber immediately. 2. Avoid Open Flames Never try to thaw a pipe with a torch or other open flame, as this can create a fire hazard. 3. Use a Hair Dryer (With Caution) You may be able to thaw a frozen pipe using a hair dryer. Ensure you are not in or near standing water or flammable materials. Start by warming the pipe as close to the faucet as possible, working towards the coldest section of the pipe. 4. Shut Off the Water Supply If your water leak detection system goes off or your pipes burst, turn off the water at the main shutoff valve in your house. Ensure everyone in your family knows where the shutoff valve is and how to operate it. By taking these steps, you can help prevent your pipes from freezing and protect your home from potential water damage. For more information or assistance with winter home maintenance, contact Riverway Plumbing & Mechanical. We're here to help you stay warm and worry-free this winter.
September 10, 2024
When it comes to water heaters, homeowners typically have two main options: traditional tank water heaters and tankless water heaters. Understanding the differences between these two types can help you make an informed decision that best suits your home’s needs. At Riverway Plumbing & Mechanical, we're here to provide you with all the essential information. How Does a Storage Tank Water Heater Work? A traditional tank water heater stores hot water in an insulated tank, which can hold between 30 and 80 gallons. The heater continuously heats the water, keeping it ready for use. Here’s a breakdown of how it works: Cold Water Supply : Cold water enters the tank from the bottom through a dip tube. Heating Process : A gas burner or electric element heats the water. Heat Rises : As the water heats, it rises to the top of the tank. Hot Water Outlet : Hot water is drawn from the top of the tank when you turn on a hot water tap. How Does a Tankless Water Heater Work? Unlike traditional water heaters, tankless models do not store hot water. Instead, they heat water on demand using a powerful heat exchanger. Here’s how a tankless system operates: Cold Water Entry : Cold water enters the unit when a hot water tap is turned on. Heating Process : A gas burner or electric element quickly heats the water as it passes through the exchanger. Hot Water Outlet : The heated water is then delivered directly to the tap, shower, or appliance. Storage Tank Water Heaters: Pros and Cons Advantages: Lower Upfront Costs : Tank water heaters are generally less expensive to purchase and install. High Capacity : Can supply hot water to multiple fixtures simultaneously. Simplicity : Easier to install and repair compared to tankless models. Disadvantages: Energy Inefficiency : Continuously heating water can lead to higher energy bills. Space Requirements : Requires significant space for installation. Limited Lifespan : Typically lasts 10-15 years with maintenance. Risk of Leaks : Tanks can develop leaks over time, potentially causing damage. Tankless Water Heaters: Pros and Cons Advantages: Energy Efficiency : Heats water only when needed, reducing energy consumption. Space-Saving : Compact design takes up less space. Longer Lifespan : Can last up to 20 years with proper maintenance. Less Risk of Leaks : No tank means less chance of leaks and water damage. Disadvantages: Higher Upfront Costs : More expensive to purchase and install. Installation Complexity : May require modifications, such as new gas lines or venting. Limited Availability : Not as widely available as traditional tank models. Sizing and Cost Considerations Storage Tank Water Heaters Sizing: Determine the size needed based on your household’s peak hour demand. This can be calculated by adding up the flow rates of all hot water fixtures used during the busiest hour. Cost : Installing a tank water heater can range from $2,000 to $5,500, depending on whether it’s electric or gas. Tankless Water Heaters Sizing: Based on your home’s water usage and the required temperature rise. Calculate the gallons per minute (GPM) needed during peak usage times. Cost : Installation costs for tankless heaters can start at $8,000, reflecting their higher efficiency and longer lifespan. Which is Right for You? Choosing between a tank and tankless water heater depends on your home’s specific needs and your long-term goals. Here are some key points to consider: Immediate Needs : If you need a quick and affordable solution, a tank water heater may be best. Energy Savings : For long-term savings on energy bills, a tankless water heater is more efficient. Space Constraints : If space is limited, a tankless unit’s compact size is advantageous. Lifespan : Tankless heaters offer a longer lifespan, which might justify the higher initial cost.  At Riverway Plumbing & Mechanical, we can help you assess your home’s requirements and guide you in choosing the best water heater solution. Contact us today to learn more about our services and to get professional advice on your water heating needs.
August 7, 2024
When it comes to maintaining a comfortable and energy-efficient home, your HVAC system plays a crucial role. However, like all appliances, HVAC systems have a finite lifespan. Recognizing the signs that it’s time to replace your system can save you from unexpected breakdowns and high repair costs. Here are some critical indicators that your HVAC system may need to be replaced: Aging Equipment HVAC systems typically last between 10 to 15 years. If your system is approaching or has surpassed this age range, it’s time to start considering a replacement. Older systems are less efficient and more prone to breakdowns, leading to increased energy bills and repair costs. Frequent Repairs If you find yourself frequently calling for repairs, it may be more cost-effective to invest in a new HVAC system. Frequent breakdowns not only drain your wallet but also indicate that your system is struggling to meet your home’s heating and cooling needs. Rising Energy Bills A sudden increase in your energy bills without a corresponding increase in usage can be a sign that your HVAC system is losing efficiency. As systems age, they work harder to provide the same level of comfort, leading to higher energy consumption. Uneven Temperatures Do you notice hot or cold spots in different areas of your home? Uneven temperatures can signal that your HVAC system is no longer able to distribute air evenly. This issue can be caused by a variety of factors, including an aging system, ductwork problems, or insufficient insulation. Excessive Noise While all HVAC systems make some noise, loud or unusual sounds such as banging, rattling, or squealing can indicate serious problems. These noises often result from components wearing out or becoming loose, and they suggest it might be time for a replacement. Poor Air Quality Your HVAC system plays a vital role in maintaining indoor air quality. If you notice increased dust, humidity issues, or a persistent stale smell, your system may not be effectively filtering the air. This can lead to health problems, especially for those with allergies or respiratory conditions. Inconsistent Humidity Levels Maintaining the right humidity level is essential for comfort and health. If your home feels too humid in the summer or too dry in the winter, your HVAC system might not be operating correctly. This imbalance can lead to mold growth or respiratory issues and often signifies the need for a new system. Advanced Age of Electrical Panels If your HVAC system relies on an outdated electrical panel, particularly if it’s original to a home over 25 years old, it might be time for an inspection. Frequent breaker trips, visible rust or damage, and burning smells are signs that your panel might not handle the power requirements of modern HVAC systems efficiently or safely. Increased Use of Power Strips Overreliance on power strips due to a shortage of outlets can indicate that your current electrical setup is outdated. This issue can affect your HVAC system's performance and suggests the need for an upgrade to handle additional circuits and major appliances. Preparing for Major Home Upgrades If you’re planning significant renovations or adding major appliances, it’s crucial to ensure your HVAC system can handle the increased load. An outdated system may not be equipped to support these changes, making a replacement necessary for optimal performance and safety. Recognizing these signs early can help you avoid unexpected breakdowns and ensure your home remains comfortable and energy-efficient. If you’re experiencing any of these issues, it might be time to consider replacing your HVAC system. At Riverway Plumbing & Mechanical, we’re here to help you with all your HVAC needs. Let us know if you're experiencing any of these signs, and we’ll provide a professional assessment and the best solutions for your home. For expert advice and reliable service, contact Riverway Plumbing & Mechanical today. Your comfort is our priority!
July 11, 2024
As temperatures rise, so do cooling costs. At Riverway Plumbing & Mechanical, we understand the importance of keeping your home comfortable without breaking the bank. Here are some practical tips to help you lower your cooling expenses while maintaining a pleasant indoor environment. Optimize Your Thermostat Settings One of the simplest and most effective ways to reduce cooling costs is by using a programmable thermostat. This allows you to set specific temperatures for different times of the day, reducing the load on your AC when you're not home. According to the Department of Energy, adjusting your thermostat by 7-10 degrees Fahrenheit for 8 hours a day can save you up to 10% annually on heating and cooling. Block Out the Sun Curtains and blinds aren't just for privacy—they can also help insulate your home. By blocking out the sun’s heat, you reduce the indoor temperature and lessen the strain on your air conditioning system. Research indicates that medium-colored drapes with white plastic backings can reduce heat gains by about 33%. Leverage Ceiling Fans Ceiling fans are a great complement to your air conditioning system. They help distribute cool air more evenly throughout your living space, making it feel cooler. This allows you to set your thermostat a few degrees higher without sacrificing comfort. Just remember to turn off fans when you leave the room, as they cool people, not spaces. Seal Your Home Cracks and gaps around windows and doors can let cool air escape and warm air enter, making your AC work harder. Sealing these openings improves your home's airtightness, enhancing the efficiency of your cooling system and reducing energy consumption. Turn Off Unnecessary Lights Turning off lights when they’re not needed can reduce your cooling costs in two ways. First, many light bulbs emit heat, which can increase the room's temperature. Second, reducing electricity usage for lighting decreases the overall load on your AC system, allowing it to run more efficiently. Minimize Heat-Generating Activities Using appliances like ovens and clothes dryers during the hottest parts of the day can raise your home’s temperature, forcing your AC to work harder. Try to use these appliances in the early morning or late evening when it’s cooler. Utilize Exhaust Fans Exhaust fans in kitchens and bathrooms can help remove hot, humid air from your home. Using these fans while cooking or after a shower can make it easier for your AC to cool the space, improving efficiency and lowering costs. Maintain Your Air Filters Dirty air filters can block airflow and make your HVAC system work harder to cool your home. Regularly cleaning or replacing these filters can improve system efficiency, reducing energy use and cooling costs. Set Your Thermostat to 78 Degrees Setting your thermostat to 78 degrees Fahrenheit when you’re home and awake is an effective way to lower cooling costs. This temperature is generally comfortable and helps your AC run more efficiently. Use a Dehumidifier High humidity can make your home feel hotter. A dehumidifier removes excess moisture from the air, making it feel cooler even at higher temperatures. This reduces the workload on your AC and lowers energy costs. Insulate Your Attic Proper attic insulation prevents heat from entering your home, reducing the strain on your AC system. This can lead to significant energy savings and lower cooling costs over time. Choose Microwave or Slow Cooker Over Oven Cooking with a microwave or slow cooker generates less heat than using a traditional oven or stove, which helps keep your kitchen cooler and reduces the need for additional cooling. Install Weatherstripping Weatherstripping around doors and windows helps seal gaps where cool air can escape and warm air can enter, enhancing your AC system's efficiency and lowering your energy bills. Manage Unused Rooms Turning off the AC or closing vents in rooms that are not in use can help reduce overall cooling costs by focusing cooling efforts only where they are needed. Strategic Thermostat Placement Place your thermostat in a location that receives balanced airflow for accurate temperature readings. Avoid areas near windows, doors, or heat-generating appliances, which can cause incorrect temperature readings and increase energy costs. Use Heat Control Window Film Installing heat control window film reflects the sun’s rays, reducing heat gain through windows. This lowers the workload on your AC system, saving energy and money. Shade Your Home Naturally Planting shade trees or installing awnings can block direct sunlight from heating your home. This natural cooling method reduces the demand on your AC system and lowers energy bills. Regular HVAC Maintenance Consistent maintenance is key to keeping your HVAC system efficient. Schedule regular service visits to clean and inspect your system, ensuring it runs smoothly and efficiently, which can lead to reduced cooling costs. Check for Duct Leaks Inspect your ductwork for leaks, which can waste cooled air and force your AC to work harder. Sealing any leaks ensures efficient airflow and lowers energy bills.  Consider an HVAC Upgrade If your HVAC system is more than 10-15 years old, upgrading to a newer, more energy-efficient model can significantly reduce your cooling costs. Modern systems often feature advanced technology for better temperature control and efficiency. By implementing these strategies, you can enjoy a cooler home while saving on energy costs. For personalized advice and professional assistance, contact Riverway Plumbing & Mechanical to schedule a consultation today. Let us help you optimize your cooling system for maximum efficiency and comfort.
June 11, 2024
Summer is just around the corner, and while you may be thinking about vacations, pool parties, and barbecues, it’s also the perfect time to give your home’s plumbing a little TLC. Routine maintenance can help prevent costly repairs, improve efficiency, and increase the lifespan of your plumbing system. To help you get started, we’ve compiled a list of the top 10 plumbing tips for homeowners to perform each summer. 1. Inspect Your Outdoor Plumbing Outdoor faucets, sprinklers, and hoses can become damaged over the winter and spring. Now is the perfect chance to check your outdoor faucets for leaks or damage. Ensure the hose connections are secure and not leaking. Inspect all outdoor plumbing fixtures for leaks, rust, and damage, replacing any damaged fixtures as needed. Also, check the water pressure in your outdoor faucets by turning them on full blast. If the pressure is weak, you may have a clog or leak that needs addressing to avoid water damage. 2. Clean Gutters and Downspouts Gutters and downspouts are designed to collect and redirect rainwater away from your home’s foundation. However, they can become clogged with debris during the summer, leading to water overflow and potential damage to your home’s foundation. Regularly clean gutters and downspouts to ensure they function correctly and protect your home from water damage, mold growth, and structural issues. 3. Check Your Sump Pump Summer can bring heavy rain and thunderstorms, which can lead to flooding in your basement or crawl space. Test your sump pump by pouring a bucket of water into the sump pit. If the pump activates and removes the water, it’s working correctly. If not, call a professional to inspect and repair it. Ensuring your sump pump is functional is crucial as it protects your home from basement flooding. 4. Inspect Your Water Heater Your water heater works overtime during the summer with extra laundry, dishes, and showers. Check the temperature and pressure relief valve to ensure it’s functioning correctly. Look for any signs of rust or corrosion. Flushing your water heater regularly helps remove sediment buildup and prolongs its lifespan. To do this, turn off the power or gas supply, connect a garden hose to the drain valve, open the valve, and let the water run until it runs clear. 5. Test Your Water Pressure Testing your water pressure during the summer is especially important due to increased water usage. Use a water pressure gauge to check the pressure. Low pressure can indicate a clog or other plumbing issues, while high pressure could damage your pipes and lead to leaks. If you notice any significant changes, call a professional plumber to inspect your system. 6. Test Your Toilet A running toilet can waste gallons of water each day, resulting in higher utility bills. Test your toilet by placing a few drops of food coloring in the tank. If the color appears in the bowl within 30 minutes, you may have a leak. Address any issues promptly to avoid wasting water and damaging your plumbing system. Consider upgrading to a more water-efficient model to save on your water bill. 7. Clean Your Drains Summer activities can lead to clogged drains. Prevent clogs by inspecting your drains and performing routine maintenance. Use a drain snake or plunger to remove any hair, soap scum, or other debris. You can also use a mixture of baking soda and vinegar to break down buildup in your pipes. Pour one cup of baking soda down the drain followed by one cup of vinegar. Wait 15 minutes and then flush with hot water. 8. Inspect Your Washing Machine Hoses Your washing machine hoses work hard during the summer with extra loads of laundry. Check the hoses for cracks, bulges, or signs of wear and tear. Replace any damaged hoses immediately to avoid flooding or water damage. Ensure the hoses are securely connected to the machine and water supply to prevent leaks. 9. Refresh Your Garbage Disposal Summer means more outdoor cooking and entertaining, leading to more food scraps in your garbage disposal. To keep it functioning correctly, run cold water while using it and avoid putting hard or fibrous foods down the drain. Clean your disposal by grinding up a few ice cubes and citrus peels to remove buildup and keep it smelling fresh. 10. Schedule a Professional Inspection While routine maintenance can prevent many issues, it’s also essential to schedule a professional plumbing inspection. A licensed plumber can inspect your entire plumbing system for potential issues, provide recommendations for improving efficiency, and prolong the lifespan of your plumbing system. Schedule an inspection at least once a year to catch any problems early. Have a Wonderful Summer!  If anything pops up, reach out to Riverway Plumbing & Mechanical. We’re here to help keep your plumbing in top shape all year round!
May 16, 2024
Spring is the perfect time to ensure your HVAC system is in top shape for the warmer months ahead. Riverway Plumbing & Mechanical is here to help you with a comprehensive guide to preparing your system. Follow these steps to keep your HVAC running efficiently and your home comfortable. 1. Change HVAC Air Filters First, check your HVAC air filters. Hold them up to a light source to test their performance. If little or no light passes through, they’re clogged and need cleaning or replacement. Clean filters are essential for maintaining good air quality and efficient system operation. 2. Clean the Windows Dirty windows can harbor dust, allergens, and mold. Clean your windows inside and out to minimize allergies and improve indoor air quality. As you clean, inspect and replace any old or damaged seals to prevent drafts and leaks, ensuring your HVAC system doesn’t have to work harder than necessary. 3. Upgrade and Adjust Your Smart Thermostat Consider upgrading to a smart thermostat if you haven't already. Smart thermostats help regulate your home’s temperature and reduce cooling costs. The Department of Energy recommends setting your thermostat to 88 degrees while you're away from home. This simple adjustment can lead to significant energy savings. 4. Clean Ceiling Fan Blades and Registers Ceiling fans are great for circulating fresh air before you start using your air conditioning. Ensure your ceiling fan blades are clean and set to spin counterclockwise during summer months to promote cooling. Also, clean the registers to ensure unobstructed airflow throughout your home. 5. Inspect the Outdoor Unit Winter can leave debris around your outdoor air conditioning unit. Clear away any debris and check for pests that may have settled near the unit. Keeping the area around your unit clean ensures it operates efficiently and prevents potential damage. 6. Schedule Professional HVAC Maintenance Finally, schedule professional HVAC maintenance with Riverway Plumbing & Mechanical. Our experts will perform a thorough inspection and servicing of your system, ensuring it’s ready to operate at peak efficiency. Regular maintenance helps extend the life of your HVAC system and prevents costly repairs down the line. How We Can Help Don't wait until the heat of summer to address your HVAC needs. Schedule a spring check-up with Riverway Plumbing & Mechanical today! Our professional team is ready to ensure your HVAC system is in top shape, keeping you comfortable all season long. Contact us now to book your appointment and enjoy a worry-free spring and summer!  By following this checklist, you’ll ensure your HVAC system is ready to keep your home cool and comfortable as the temperatures rise. Riverway Plumbing & Mechanical is here to support you with all your HVAC needs.
April 10, 2024
Keeping up with home maintenance is crucial to ensure your home remains a safe and comfortable place for you and your family. Here are ten essential tips every homeowner should know: 1. Check Fire and Security Devices Make sure your home is safe by regularly testing your security system. Replace batteries in smoke and carbon monoxide detectors, and check the expiration dates on your fire extinguishers. These small tasks can make a big difference in an emergency. 2. Keep Up with Your Landscaping Regularly tend to your lawn and flower beds to prevent weeds, pests, and potential fire hazards. Spend time each month trimming and maintaining your landscaping to keep things tidy and safe. 3. Maintain Your Kitchen and Appliances Clean your kitchen monthly to prevent damage from spills and stains. Wipe down cabinets, clear expired pantry items, and clean your dishwasher according to the manufacturer’s recommendations. Also, inspect the hose between the wall and the refrigerator for any signs of wear or leaks. 4. Clean Humid Areas Prevent mold and mildew by scrubbing bathroom tiles and grout at least once a month. Inspect fixtures and pipes for leaks and check the caulking around showers, bathtubs, sinks, and toilets. 5. Inspect Major Home Systems Check your HVAC system regularly, especially during colder months. Replace dirty filters to improve air quality and efficiency. Winterize your water system in the fall by turning off outdoor faucets. 6. Pay Attention to Your Plumbing Regularly inspect your plumbing for signs of damage, such as discoloration or buildup. Clean slow-running drains and ensure toilets aren’t constantly running to save money and water. If you notice any issues, consider calling a professional. 7. Check Gutters Ensure your gutters and downspouts are clear of leaves and debris to prevent water infiltration. This is especially important in the fall when leaves can accumulate. 8. Restock Cleaning Supplies Keep an inventory of home maintenance supplies and restock regularly. Having essential supplies on hand can help you maintain your home, especially during a storm or other emergencies. 9. Walk Through Your Entire Property Monthly, inspect rarely used spaces like the attic or under a deck for signs of pests, rot, or leaks. Check large trees for signs of weakness or decay, and ensure your garage door opener is functioning properly. 10. Update Your Home Inventory After remodeling or making significant purchases, update your home inventory for insurance purposes. File receipts, take pictures of new items, and contact your insurance representative to update your coverage.  Regular home maintenance can help you avoid costly problems and ensure your home remains a safe, comfortable place to live. If you need any assistance this spring season, contact Riverway Plumbing & Mechanical. We're here to help with all your home maintenance needs.
More Posts
Share by: